
Do you have a Whirlpool French door refrigerator with a freezer drawer that you need to remove? If so, you’re in luck! This guide will walk you through the process step-by-step, making it easy and hassle-free.
Whirlpool French door refrigerators are a popular choice for many homeowners, as they offer a sleek design and plenty of storage space. However, like all appliances, they can occasionally require maintenance. If you need to remove the freezer drawer for cleaning or repair, this guide will show you how to do it safely and correctly.
In this guide, we will provide you with step-by-step instructions on how to remove the freezer drawer on a Whirlpool French-door refrigerator. We will also include helpful tips and troubleshooting advice to make the process as smooth as possible.
Whether you’re a seasoned DIYer or a complete beginner, this guide will help you remove your Whirlpool French door refrigerator freezer drawer with ease. So, read on and get started!
Before You Begin: Preparing For The Removal Process
Gathering the necessary tools
Before you begin the process of removing the freezer drawer on your Whirlpool French Door Refrigerator, it’s important to gather all the necessary tools. Having the right tools at your disposal will make the removal process much easier and more efficient. Here are the tools you’ll need:
- A flathead screwdriver
- A Phillips-head screwdriver
- A pair of needle-nose pliers
- A soft cloth or towel
These tools will help you disassemble the freezer drawer and handle any other components that may need attention during the removal process.
Ensuring safety precautions
Safety should always be your top priority when working with any appliance. Before you start removing the freezer drawer, make sure to follow these safety precautions:
- Disconnect the refrigerator from the power source to avoid any electrical accidents.
- Wear protective gloves to guard your hands against any potential injuries while handling sharp edges or metal components.
- Keep a clean and clutter-free work area to minimize the risk of tripping or falling.
- Work with a partner if possible, as some components may be heavy and require assistance.
Following these safety precautions will help ensure a smooth and incident-free removal process.
Now that you’ve gathered the necessary tools and taken the appropriate safety measures, you’re ready to begin the removal process.
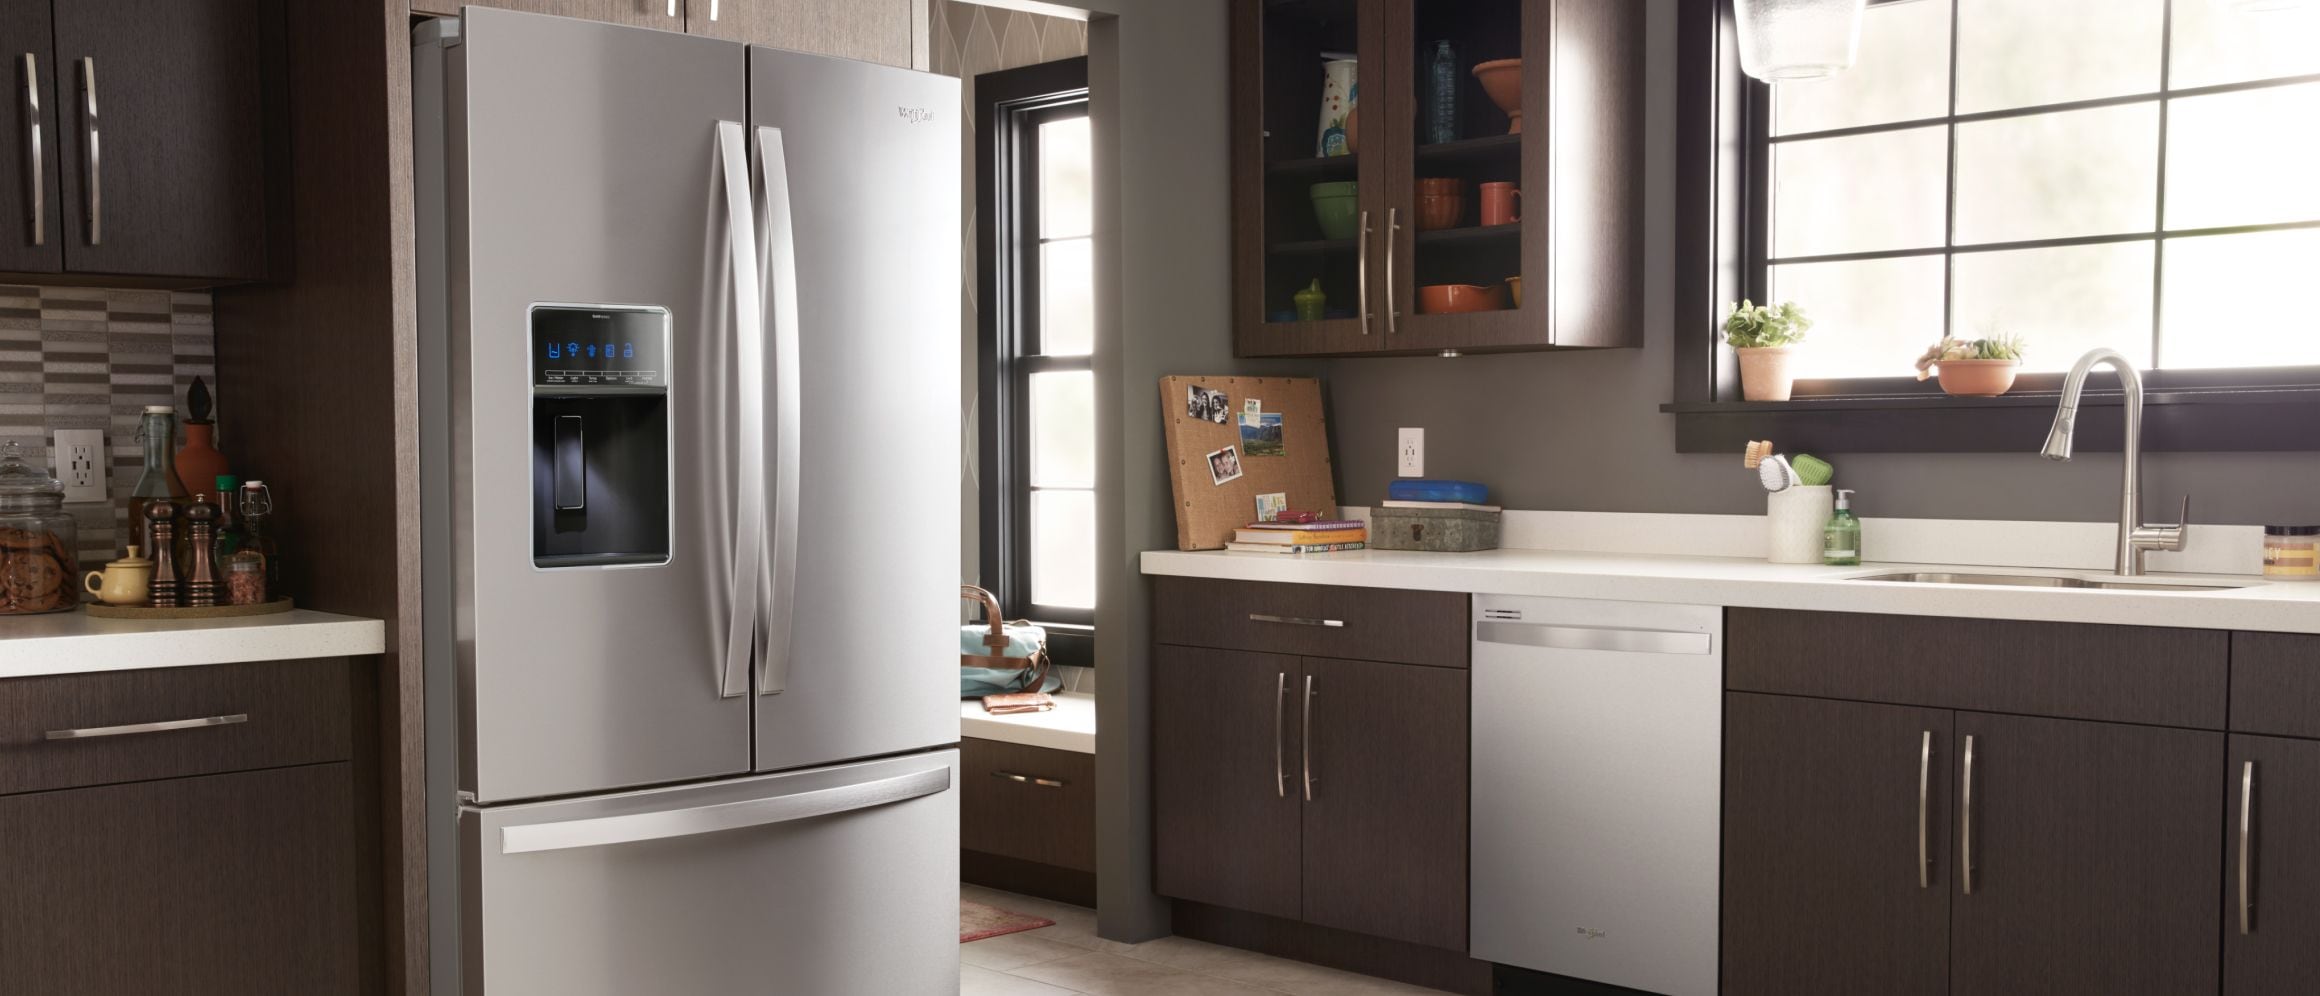
Credit: www.whirlpool.com
Step 1: Emptying The Freezer
Removing All Items From The Freezer
Before you can remove the freezer drawer on your Whirlpool French Door Refrigerator, it is essential to empty the freezer of all its contents. This will not only make it easier to remove the drawer but also prevent any potential damage to your food items. Follow these steps to ensure a smooth and hassle-free process:
- Start by unplugging the refrigerator from the power source. This will help avoid any accidents and ensure your safety throughout the process.
- Sort through the items in your freezer and quickly assess their condition. Discard any expired or spoiled food items to prevent any potential health risks.
- If you have any perishable items that you wish to keep, you need to make suitable arrangements for their storage during the process. Consider using coolers with ice packs or placing them in another freezer if available. This will help maintain their freshness and prevent any spoilage.
- If you have any frozen items that you wish to keep but cannot fit in the alternative storage options, prioritize consuming them before proceeding with the removal of the freezer drawer.
- Finally, wipe down the interior of the freezer with a mild detergent or cleaner to remove any spills or residues. This will help maintain a clean and hygienic environment for your frozen foods.
Step 2: Locating The Freezer Drawer Release Tabs
Removing the freezer drawer on your Whirlpool French Door Refrigerator requires locating and understanding the functionality of the release tabs. In this step, we will guide you through the process of identifying the release tabs and explaining how they work.
Identifying The Release Tabs
The release tabs are small mechanisms located on both sides of the freezer drawer. These tabs are designed to secure the drawer in place and prevent it from accidentally sliding out. To begin the removal process, you need to locate these tabs.
You can find the release tabs by opening the freezer compartment and observing the sides of the freezer drawer. They are usually situated near the front part of the drawer, close to where it connects to the refrigerator body. Make sure to take note of their position and appearance before proceeding.
Understanding Their Functionality
The release tabs serve an essential role in detaching the freezer drawer. When activated, they disengage the drawer from the tracks, allowing it to slide out smoothly. It is crucial to familiarize yourself with how these tabs work to avoid any potential damage or difficulties.
Each release tab consists of a small lever or button that you need to press or push in a specific direction. This action releases the locking mechanism, dislodging the drawer from the tracks. It may require a firm but gentle force to activate the release tabs, so be attentive and careful when manipulating them.
To ensure a successful removal process, it is recommended to press both release tabs simultaneously. This balanced approach ensures an even disengagement of both sides of the drawer, minimizing the risk of any misalignment or accidental damage.
Now that you have identified and understood the functionality of the release tabs, you are ready to proceed with the next step of removing the freezer drawer.
Step 3: Releasing The Freezer Drawer
Pressing The Release Tabs Simultaneously
Once you have removed the items from your Whirlpool French Door Refrigerator’s freezer drawer and have safely completed the previous steps, you are now ready to release the freezer drawer. This step requires you to locate the release tabs, which allow you to detach the drawer from its tracks.
To begin, open the freezer drawer fully. Look for the release tabs on each side of the drawer near the front. These tabs are usually located towards the upper part of the slides or tracks that support the drawer.
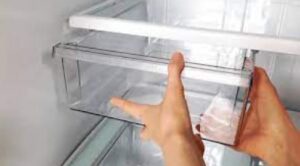
Note: The image above shows the typical location of the release tabs, but the exact position might vary slightly depending on your refrigerator model.
Once you have identified the release tabs, it’s time to press them simultaneously. Use your thumbs or fingers to press both tabs inward towards the center of the drawer. This action will disengage the tabs from the tracks, allowing the drawer to be released.
Applying The Right Amount Of Pressure
When pressing the release tabs, it is essential to apply the right amount of pressure to ensure they are fully disengaged. Keep in mind that too much force could damage the tabs or the tracks, while too little pressure might not release the drawer properly.
- Pro Tip: Apply firm but gentle pressure on both tabs simultaneously, using your thumbs or fingers. Take care to avoid excessive force, as it can cause unnecessary stress on the components.
If you are having difficulty pressing the tabs, you can try wiggling the drawer slightly to alleviate pressure on the tracks. This movement can sometimes make it easier to disengage the tabs.
By following these steps and pressing the release tabs simultaneously with the right amount of pressure, you should be able to successfully release the freezer drawer from your Whirlpool French Door Refrigerator.
Step 4: Sliding Out The Freezer Drawer
Pulling Out The Drawer Gently
Now that you have removed the baskets and dividers from your Whirlpool French Door Refrigerator, it’s time to proceed to the main step of sliding out the freezer drawer. It’s crucial to handle this process with care to avoid damaging any components or causing any accidents.
Follow these simple steps to safely pull out the freezer drawer:
- Start by grasping the freezer drawer’s handle firmly, using both hands for better control. Ensure that you have a secure grip.
- At an even pace, begin to pull the drawer slowly towards you. Remember to maintain a steady and gentle motion to prevent any sudden jerks.
- If you encounter any resistance or difficulty while sliding out the drawer, don’t force it. This could potentially damage the freezer or its components.
- Stop pulling and investigate if there are any obstructions that might be causing the resistance. It could be ice buildup, debris, or any other foreign objects that could be interfering with the smooth movement of the drawer.
- If you find any such obstructions, carefully remove them using a soft cloth or a gentle cleaning tool. Take caution not to scratch or damage any part of the refrigerator during this process.
- Once you have cleared the way, resume pulling out the drawer in a slow and controlled manner until it is fully extended. At this point, you will have successfully removed the freezer drawer from your Whirlpool French Door Refrigerator.
Checking For Any Obstructions Or Resistance
During the process of sliding out the freezer drawer, it’s essential to pay attention to any obstructions or resistance that might arise. This step ensures the smooth removal of the drawer and helps maintain the overall functionality of your Whirlpool French Door Refrigerator.
When pulling out the freezer drawer, keep the following points in mind:
- Be alert for any unusual resistance or difficulty while sliding out the drawer. This could indicate the presence of ice buildup, debris, or other objects that may obstruct its movement.
- Ensure that you maintain a gentle and controlled pulling motion throughout the process. This will help prevent any sudden jolts that could cause damage to the refrigerator.
- If you encounter any obstructions or resistance, stop pulling immediately. Take some time to investigate the cause before proceeding. This could be as simple as removing ice buildup or clearing away debris from the tracks.
- Use a soft cloth or a gentle cleaning tool to clear any obstructions you find. Take care not to scratch or damage any part of the refrigerator while doing this.
- Once you have resolved any obstructions, resume pulling out the freezer drawer until it is fully extended. Proceed with caution to ensure a successful removal without causing any harm to your Whirlpool French Door Refrigerator.
Step 5: Reinstalling The Freezer Drawer
After successfully removing the freezer drawer from your Whirlpool French Door Refrigerator, it’s time to put it back in place. Reinstalling the freezer drawer may seem daunting, but with the right steps, it can be a breeze. In this step-by-step guide, we will show you how to align the drawer properly and ensure a secure fit.
Aligning The Drawer Properly
Ensuring that the freezer drawer is properly aligned is crucial for a smooth reinstallation process. Follow these steps to align the drawer correctly:
1. Begin by inserting the front of the freezer drawer into the tracks on each side of the refrigerator. Make sure that the drawer is level and centered between the tracks.
2. Slowly push the drawer back, allowing it to glide into place. As you do this, check that the drawer is aligned with the surrounding cabinetry and the refrigerator door.
3. Ensure that the drawer is entirely inside the refrigerator and not sticking out. This will prevent any issues with closing the refrigerator door later.
TIP: If the drawer is not aligning properly, double-check if there are any obstructions or debris in the tracks. Clear any blockages before attempting to reinstall the drawer again.
Ensuring A Secure Fit
To ensure that the freezer drawer is securely fitted back into the refrigerator, follow these steps:
1. Push the drawer all the way in until it stops. You should feel a slight resistance when the drawer reaches its fully closed position.
2. Give the drawer a gentle tug to check if it is securely in place. It should not move or wobble when pulled.
3. Open and close the refrigerator door to ensure that the drawer does not obstruct its movement. The drawer should slide in and out smoothly without any issues.
TIP: If you notice any excessive resistance or difficulty in opening or closing the refrigerator door, make sure to recheck the alignment of the drawer. Proper alignment ensures a secure fit and smooth operation. Remember, reinstalling the freezer drawer correctly is essential for the overall functionality and efficiency of your Whirlpool French Door Refrigerator.
By following these steps to align the drawer properly and ensure a secure fit, you can enjoy the convenience of your refrigerator without any hassle.
Frequently Asked Questions Of How To Remove Freezer Drawer On Whirlpool French Door Refrigerator
How Do I Remove The Freezer Drawer On My Whirlpool French Door Refrigerator?
To remove the freezer drawer on your Whirlpool French Door Refrigerator, start by opening the drawer fully. Then, lift the front of the drawer slightly and tilt it towards you. Once tilted, pull the drawer out and away from the refrigerator.
Make sure to avoid excessive force or pulling the drawer at an angle to prevent any damage.
Can I Remove The Freezer Drawer Without Emptying It?
Yes, you can remove the freezer drawer on your Whirlpool French Door Refrigerator without emptying it. However, it is recommended to remove any particularly heavy or fragile items before attempting to remove the drawer. This will minimize the risk of any accidents or damage while handling the drawer.
How Do I Reinstall The Freezer Drawer On My Whirlpool French Door Refrigerator?
To reinstall the freezer drawer on your Whirlpool French Door Refrigerator, line up the drawer glides with the tracks inside the freezer compartment. Gently push the drawer back into the refrigerator until it is fully extended. Then, lower the front of the drawer to engage the glides with the tracks.
Finally, close the drawer to ensure it is securely installed.
Conclusion
To sum it up, removing the freezer drawer on your Whirlpool French Door Refrigerator is a simple task that can be done with just a few steps. By following the instructions provided in this blog post, you can easily access and clean the freezer compartment as needed.
Remember to exercise caution and refer to the manual for any specific instructions related to your model. With these tips, maintaining your refrigerator will be a breeze.
Hello Readers, I am Mechanic Shuvo, a seasoned refrigerator solution expert with over 11 years of hands-on experience in the field. Throughout my career, I've dedicated myself to understanding the ins and outs of refrigeration systems, honing my skills as a refrigerator mechanic. My passion for these appliances led me to create the website "refrigeratorsolutionsguide.com," where I aim to share my wealth of knowledge and expertise with others.
Over the years, I've encountered a wide range of refrigerator issues and have successfully resolved them all. From common problems like temperature fluctuations and strange noises to more complex technical issues, I've seen it all. Through my website, I hope to provide practical solutions, insightful tips, and guidance to help you keep your refrigerators running smoothly.