
To replace the light in a Whirlpool refrigerator, follow these steps: unplug the refrigerator, locate the light cover, remove the cover by pushing on the sides, unscrew the light bulb, replace it with a new bulb, screw the new bulb into place, and reinstall the light cover by snapping it back in. These simple steps will help you replace the light in your Whirlpool refrigerator quickly and easily.
A well-functioning refrigerator is essential for keeping your food fresh and safe. However, when the light in your Whirlpool refrigerator goes out, it can be quite frustrating. Luckily, replacing the light is a relatively easy task that you can do yourself, saving both time and money.
We will guide you through the steps to replace the light in your Whirlpool refrigerator and get it shining brightly again. So, let’s jump right in and get started.
Gathering The Necessary Tools And Materials
Before you start the process of replacing the light in your Whirlpool refrigerator, it’s essential to gather all the necessary tools and materials. Having everything ready beforehand will save you time and prevent any unnecessary interruptions. Follow the steps below to ensure you have everything you need.
Checking The Refrigerator Model And Light Bulb Requirements
Start by identifying the specific model of your Whirlpool refrigerator. This information is crucial as different models may have different light bulb requirements.
To determine the model, you can refer to the sticker or label usually found inside the refrigerator. It usually contains the model number or a series of numbers and letters. Jot down the model number, or take a clear picture for easy reference.
Next, it’s important to identify the correct light bulb specifications. Whirlpool refrigerators typically use incandescent or LED bulbs, and the wattage may vary depending on the model.
| Bulb Type | Wattage |
| Incandescent | Varies (usually between 40W – 60W) |
| LED | Varies (usually between 5W – 10W) |
Acquiring A Compatible Replacement Light Bulb
Once you have the model number and light bulb specifications, it’s time to acquire a compatible replacement light bulb. Here are a couple of options to consider:
- Whirlpool Authorized Dealer: Check if there’s a Whirlpool authorized dealer near you. They usually stock genuine replacement parts, including light bulbs specifically designed for Whirlpool refrigerators. Contact the dealer, provide them with your model number and light bulb specifications, and inquire about the availability of the required bulb.
- Local Hardware Store: If there are no authorized dealers nearby, your local hardware store might have compatible light bulbs. Bring the model number and bulb specifications with you to ensure you purchase the correct one. If you are unsure, don’t hesitate to ask for assistance from the store personnel.
Preparing A Workspace And Gathering The Necessary Tools
Creating a suitable workspace will make the process of replacing the light in your Whirlpool refrigerator more organized and efficient. Here are the steps to follow:
- Clear Space: Before you begin, clear out any items that may obstruct your access to the light housing. This will allow you to work comfortably and avoid any accidental breakages.
- Disconnect the Power: For safety purposes, unplug your refrigerator from the power source to prevent any electrical shock. Additionally, removing any ice trays or shelves near the light housing will provide better visibility.
- Gather Tools: Below are the essential tools you’ll need for the replacement process:
- Philips Screwdriver: This will be required to remove screws or fastenings that secure the light cover in place.
- Gloves: Wearing gloves will protect your hands during the process.
- Replacement Light Bulb: Ensure that you have the correct bulb specified by your refrigerator model and bulb type – incandescent or LED.
Having these tools and materials readily available will save you both time and frustration during the light replacement process.
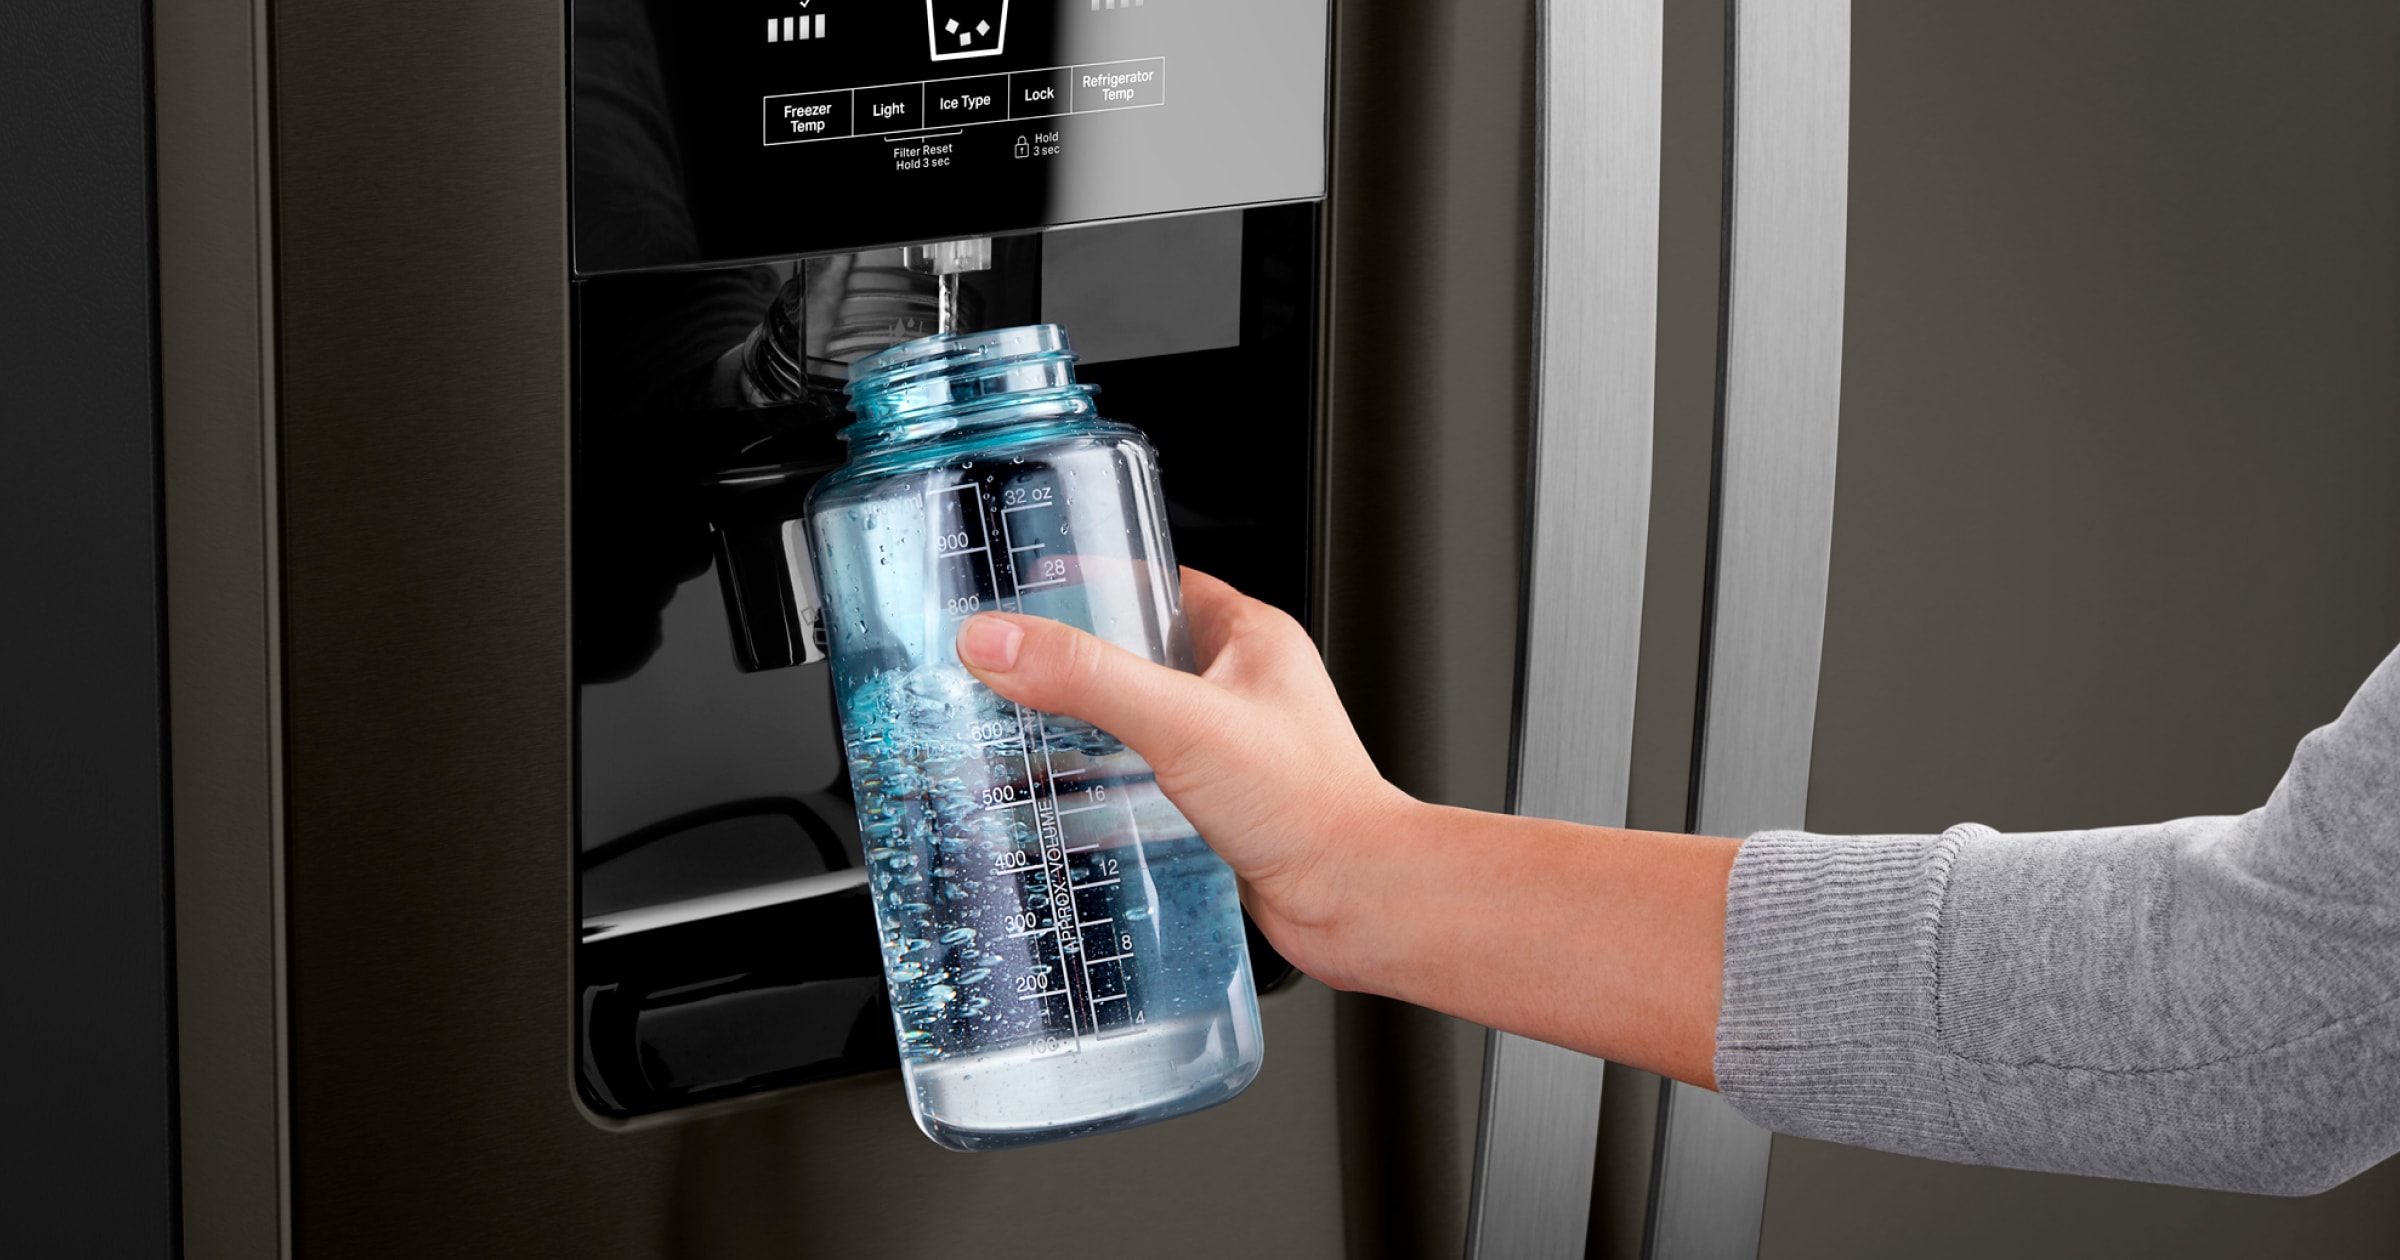
Credit: www.whirlpool.com
Safety Precautions Before Replacing The Light
Before you begin replacing the light in your Whirlpool refrigerator, it is essential to follow some safety precautions to ensure your well-being and avoid any potential risks. By taking these precautionary measures, you can confidently proceed with the task at hand.
Ensuring The Refrigerator Is Unplugged
Your first step is to ensure that the refrigerator is completely unplugged from the power source. This is a crucial safety measure that will prevent any electrical accidents or shocks during the light replacement process. Ensure that the power cord is disconnected from the electrical outlet before continuing.
Allowing The Refrigerator To Cool Down
Before working on any internal components of the refrigerator, it is vital to let it cool down. This step will help prevent burns or injuries caused by hot surfaces or steam. It is recommended to wait for at least 30 minutes after unplugging the refrigerator to allow it to cool down to a safe temperature.
Wearing Protective Gloves And Eyewear
During the light replacement, it is crucial to wear protective gloves and eyewear. This protective gear will safeguard your hands and eyes from any potential harm. Protective gloves will protect your hands from sharp edges or contact with any residual electrical current, while eyewear will prevent any debris from entering your eyes while working on the light fixture.
Accessing The Light Bulb Compartment
Locating The Light Bulb Compartment In The Refrigerator
Before you can replace the light bulb in your Whirlpool refrigerator, you need to locate the light bulb compartment. Here’s how you can easily find it:
- Open the refrigerator door and inspect the interior.
- Look for a small plastic cover or panel located near the top of the refrigerator compartment.
- The light bulb compartment is typically hidden behind this cover or panel.
- Take note of any labels or markings that indicate the location of the light bulb compartment.
Removing Any Obstacles Or Shelves That May Obstruct the Access
Before accessing the light bulb compartment, it’s essential to remove any obstacles or shelves that may obstruct your way. Follow these steps:
- Take a thorough look at the interior of the refrigerator and identify any shelves, bins, or food items that may hinder your access to the light bulb compartment.
- Remove these items carefully and set them aside in a safe place.
- If there are adjustable shelves, consider removing them as well to create more space.
- Keep in mind that some refrigerator models may require removing screws or clips to fully access the light bulb compartment.
Identifying The Type Of Light Bulb Housing
Before proceeding with replacing the light bulb, it’s crucial to identify the type of light bulb housing used in your Whirlpool refrigerator. Here’s how you can determine the correct type:
- Refer to the user manual provided with your refrigerator. It usually contains detailed information about the type of light bulb and its housing.
- If you don’t have the manual, don’t worry! You can also check the model number of your refrigerator, which is typically located on a sticker or plate inside the refrigerator compartment.
- Once you have the model number, visit the Whirlpool website or contact their customer support to obtain the necessary information about the light bulb housing.
- It’s important to note that different models may have different types of light bulb housings, such as screw-in or push-in styles.
Removing The Old Light Bulb
When your Whirlpool refrigerator’s light bulb burns out, it’s important to replace it promptly to maintain proper visibility inside the appliance. The process of changing the light bulb is relatively simple and can be done without the need for professional assistance. In this section, we will guide you through the steps of removing the old light bulb from your Whirlpool refrigerator.
Determining The Type Of Light Bulb Replacement Needed
Before you begin removing the old light bulb from your Whirlpool refrigerator, it is crucial to determine the type of replacement bulb required. Whirlpool refrigerators typically use either an incandescent or an LED light bulb, and the specific type may vary depending on the refrigerator model.
To find out the correct type of bulb, refer to your refrigerator’s instruction manual or check the Whirlpool website for the appropriate bulb part number.
Disconnecting The Power Supply To The Light Bulb
Before removing the old light bulb, it is essential to disconnect the power supply to prevent any electrical accidents. To ensure safety, follow these steps:
- Locate the refrigerator’s power cord and unplug it from the electrical outlet. This will cut off the power supply to the entire appliance.
- If your refrigerator has an interior light switch, turn it off to avoid any accidental activation of the light while replacing the bulb.
- For refrigerators without an interior light switch, it is still advisable to unplug the refrigerator or alternatively, switch off the circuit breaker connected to the appliance.
Removing The Old Light Bulb Carefully Without Damaging The Housing
Once you have disconnected the power supply, you can proceed to remove the old light bulb from your Whirlpool refrigerator. It’s important to handle this step with caution to avoid damaging the bulb housing. Follow these instructions:
- Locate the old light bulb inside the refrigerator. Depending on the model, it may be situated at the back, top, or side of the refrigerator compartment.
- Gently grip the bulb, making sure to avoid excessive force or twisting which could cause the bulb to shatter.
- In a steady and controlled manner, twist the bulb counterclockwise to loosen it from the socket.
- Continue twisting until the bulb comes free from the socket. Take care to hold the bulb securely as it may drop once it is fully detached from the socket.
By following these instructions, you can safely and effectively remove the old light bulb from your Whirlpool refrigerator. Remember to dispose of the old bulb properly and keep it out of reach of children to prevent accidents. In the next section, we will guide you through the process of installing a new light bulb to restore proper illumination to your refrigerator.
Installing The New Light Bulb
Preparing The New Light Bulb For Installation
Before you can install the new light bulb in your Whirlpool refrigerator, you need to make sure it’s ready to go. Follow these simple steps to prepare the new light bulb:
- Begin by checking the packaging of the new light bulb to ensure that it is the correct replacement for your Whirlpool refrigerator model. Look for the specifications on the packaging or consult your refrigerator’s manual.
- Once you have confirmed that the new light bulb is correct, carefully unwrap it from its packaging. Be cautious not to touch the bulb itself with your bare hands. Oils from your skin can damage the bulb or cause it to burn out prematurely. If you accidentally touch the bulb, wipe it with a clean cloth or tissue before proceeding.
- Consider wearing gloves or using a cloth or tissue to handle the new light bulb to further prevent any potential damage from oils on your hands. This will help prolong the life of the bulb and ensure it performs optimally.
Inserting The New Light Bulb Into The Housing
Once you’ve prepared the new light bulb, it’s time to insert it into the housing of your Whirlpool refrigerator. Follow these steps for a smooth installation:
- Locate the light bulb housing inside your refrigerator. It is typically located towards the back of the refrigerator compartment.
- Remove any debris or residue from inside the light bulb housing. Use a damp cloth or sponge to clean the area, ensuring that the housing is free from any dirt or dust that could interfere with the new bulb’s performance.
- Take the prepared new light bulb and align the base with the housing socket. Make sure the bulb is firmly seated and in the correct position to ensure proper lighting.
- Rotate the bulb gently but firmly in a clockwise direction until it locks into place. The base of the bulb should fit snugly into the housing socket.
Ensuring A Secure Fit And Connection
After inserting the new light bulb into the housing, it’s important to ensure a secure fit and connection. Follow these final steps to make sure the bulb is properly installed:
- Give the bulb a gentle tug to ensure it is securely in place. If it comes loose, remove it and repeat the previous steps to reinstall it to guarantee a proper fit.
- Double-check that the power to your refrigerator is turned off before proceeding. This is crucial for your safety.
- Once you’re confident in the secure fit of the new light bulb, restore power to your refrigerator by turning it back on. Test the light by opening the refrigerator door, and you should see a bright, well-illuminated interior.
- If the light bulb fails to turn on, check the power connection or consult your Whirlpool refrigerator manual for troubleshooting tips. It’s essential to address any issues promptly to ensure optimal lighting inside your refrigerator.
Testing The Replacement Light Bulb
Plugging The Refrigerator Back In
Once you have successfully replaced the light bulb in your Whirlpool refrigerator, the next step is to plug it back in. It is important to ensure that the refrigerator is properly connected to power for the light bulb to function correctly.
To plug the refrigerator back in:
- Locate the power cord at the back of the refrigerator.
- Make sure the cord is undamaged and free from any obstructions.
- Insert the plug into a grounded electrical outlet.
- Ensure that the refrigerator is receiving power by checking if the other lights and functions are working.
Testing The New Light Bulb For Functionality
After plugging the refrigerator back in, the next step is to test the replacement light bulb to ensure it is functioning properly. This step will help confirm if the new bulb is providing the necessary illumination inside the refrigerator.
To test the new light bulb:
- Open the refrigerator door.
- Locate the light switch or button, usually located near the top of the refrigerator’s interior.
- Press or toggle the switch/button to activate the light.
- Observe if the new bulb illuminates the refrigerator’s interior.
- If the light does not turn on, ensure that the bulb is securely screwed in and making proper contact.
- If the light still does not work, try replacing the bulb again to rule out any potential defects.
Adjusting Settings And Positioning If Necessary
Before concluding the replacement process, it is important to ensure that the refrigerator’s settings and positioning are adjusted correctly if needed. These adjustments will guarantee proper lighting inside the refrigerator and enhance its overall functionality.
To adjust settings and positioning, follow these steps:
- Check the refrigerator’s temperature settings and adjust them according to your preference.
- Ensure that there are no obstructions blocking the light bulb, such as food items or shelves positioned incorrectly.
- Make any necessary rearrangements to ensure that the light reaches all areas inside the refrigerator.
- Close the refrigerator door and confirm that the light stays on when the door is shut.
- If the light continues to flicker or does not stay on, check the door seal for any damage or misalignment that could be affecting the light switch.
Troubleshooting Tips
Checking The Light Bulb Connection
If the light in your Whirlpool refrigerator is not working, the first thing you should do is check the connection of the light bulb. Poor or loose connections can cause the light to flicker or stop working altogether. To check the connection, follow these steps:
- Unplug the refrigerator from the power supply.
- Locate the light bulb socket inside the refrigerator.
- Gently twist the bulb counterclockwise to remove it from the socket.
- Inspect the socket for any signs of damage or corrosion.
- If the socket appears fine, clean the contacts with a soft, dry cloth to remove any dirt or debris.
- Insert the light bulb back into the socket and twist it clockwise until it is securely in place.
- Plug the refrigerator back into the power supply and check if the light is now working.
Verifying The Power Supply To The Light Bulb
If the light bulb connection seems intact but the light still doesn’t work, the next step is to verify the power supply to the light bulb. Here’s what you can do:
- Unplug the refrigerator from the power supply.
- Locate the circuit breaker panel in your home.
- Check if the circuit breaker corresponding to the refrigerator’s power supply is tripped. If it is, reset it by flipping the switch to the “ON” position.
- Plug the refrigerator back into the power supply and see if the light now turns on.
- If the circuit breaker is not tripped, you can use a multimeter to test the power supply at the light bulb socket.
- Set the multimeter to measure AC voltage and touch the probes to the contacts inside the socket.
- If the multimeter displays a reading of zero or a very low voltage, it indicates a problem with the power supply, which may require professional assistance.
Seeking Professional Assistance If The Issue Persists
If the above troubleshooting steps do not resolve the issue and the light in your Whirlpool refrigerator still does not work, it is recommended to seek professional assistance. A qualified technician will have the expertise to diagnose and fix any underlying electrical or wiring problems that may be affecting the refrigerator’s light.
Trying to fix complex electrical issues without the proper knowledge and skills can be dangerous, so it’s best to rely on a professional to ensure the safe and proper functioning of your refrigerator.
Frequently Asked Questions For How To Replace Light In Whirlpool Refrigerator
How Do I Replace The Light In My Whirlpool Refrigerator?
To replace the light in your Whirlpool refrigerator, start by unplugging the fridge. Locate the light bulb cover and remove it by unscrewing or sliding it off. Carefully remove the old bulb and replace it with a new one, ensuring it is the correct type for your refrigerator model.
Finally, reattach the light bulb cover and plug the fridge back in.
Can I Replace The Refrigerator Light Bulb Myself?
Yes, you can replace the refrigerator light bulb yourself. It is a simple process that requires no special tools. Just make sure to follow the manufacturer’s instructions and safety precautions. Remember to unplug the fridge before replacing the bulb to avoid electric shocks.
What Kind Of Light Bulb Should I Use For My Whirlpool Refrigerator?
For most Whirlpool refrigerators, the recommended type of light bulb is an appliance bulb with a standard socket size. Check your refrigerator’s user manual or the inside of the bulb cover for the exact specifications. It’s important to use the correct type of bulb to ensure proper fit and functionality.
Conclusion
To sum up, replacing a light in your Whirlpool refrigerator is a simple process that can be done at home with a few basic tools. By following the steps outlined in this blog post, you can ensure that your refrigerator stays well-lit and functional.
Remember to always refer to the manufacturer’s instructions for specific model details and safety precautions. Now you can enjoy a brightly-lit refrigerator that makes finding your favorite snacks a breeze!
Hello Readers, I am Mechanic Shuvo, a seasoned refrigerator solution expert with over 11 years of hands-on experience in the field. Throughout my career, I've dedicated myself to understanding the ins and outs of refrigeration systems, honing my skills as a refrigerator mechanic. My passion for these appliances led me to create the website "refrigeratorsolutionsguide.com," where I aim to share my wealth of knowledge and expertise with others.
Over the years, I've encountered a wide range of refrigerator issues and have successfully resolved them all. From common problems like temperature fluctuations and strange noises to more complex technical issues, I've seen it all. Through my website, I hope to provide practical solutions, insightful tips, and guidance to help you keep your refrigerators running smoothly.